Hello, World: Setting up a starter web app with Next.js and Tailwind CSS
In this chapter, we set up a "Hello, World!" web app with Next.js and Tailwind CSS that we will use as a starting point for the projects in chapters 2 and 3 of this book.
The plan for this chapter
We will begin by creating a new Next.js web app using create-next-app. Here, create-next-app will set up Tailwind CSS for us.
Following that, we will simplify the provided source code so that our web app frontend displays the text "Hello, World!".
Finally, we will use Tailwind CSS to apply some basic styling to the text "Hello, World!".
System requirements
The latest version of Next.js requires Node.js version 16.8 or later. You can check what version of Node.js you have installed by running the following command:
node -v
If you don't have version 16.8 or later installed, go and do this before proceeding.
A note for experienced developers
If you're an experienced developer that is already familiar with the Next.js App Router, then you might want to skip this chapter.
If you'd like to see what we build in this chapter, then you can inspect the cloned repository.
To do so, first cd into the parent folder (i.e., projects) in which you would like to create your project folder. Then, to create the project files, copy-and-paste the following commands into the terminal and execute them:
git clone -b v1.0.0 https://github.com/david-j-wu/hello-world-nextjs-tailwind-css
cd hello-world-nextjs-tailwind-css
git checkout -b main
git remote remove origin
To run the web app locally, run npm install and then npm run dev.
Creating a Next.js web app using create-next-app
To begin, using the terminal, we first change the working directory to the folder (e.g. projects) in which we will create a subfolder (e.g., projects/hello-world-nextjs-tailwind-css) to store all of our web app's files. Running create-next-app will create this subfolder for us.
To create a new Next.js web app using create-next-app, we run the following terminal command:
npx create-next-app@latest
In the terminal, you'll be presented with a series of questions. For our purposes here, we respond to the set up questions as follows:
- What is your project named?
hello-world-nextjs-tailwind-css - Would you like to use TypeScript with this project? No
- Would you like to use ESLint with this project? No
- Would you like to use Tailwind CSS with this project? Yes
- Would you like to use
src/directory with this project? No - Use App Router (recommended)? Yes
- Would you like to customize the default import alias? No
Out of the box, we use JavaScript instead of TypeScript. We use Tailwind CSS. We use the App Router.
For simplicity, we do not use ESLint. We do not use the src/ directory. We not customise the default import alias.
Following this, create-next-app will proceed to automatically download and install the dependencies for our Next.js app, including Tailwind CSS.
The file structure of our create-next-app project
Once create-next-app has successfully executed, change the working directory into the folder containing our web app's files (e.g., hello-world-nextjs-tailwind-css):
cd hello-world-nextjs-tailwind-css
We see that create-next-app has created a number of files and folders.
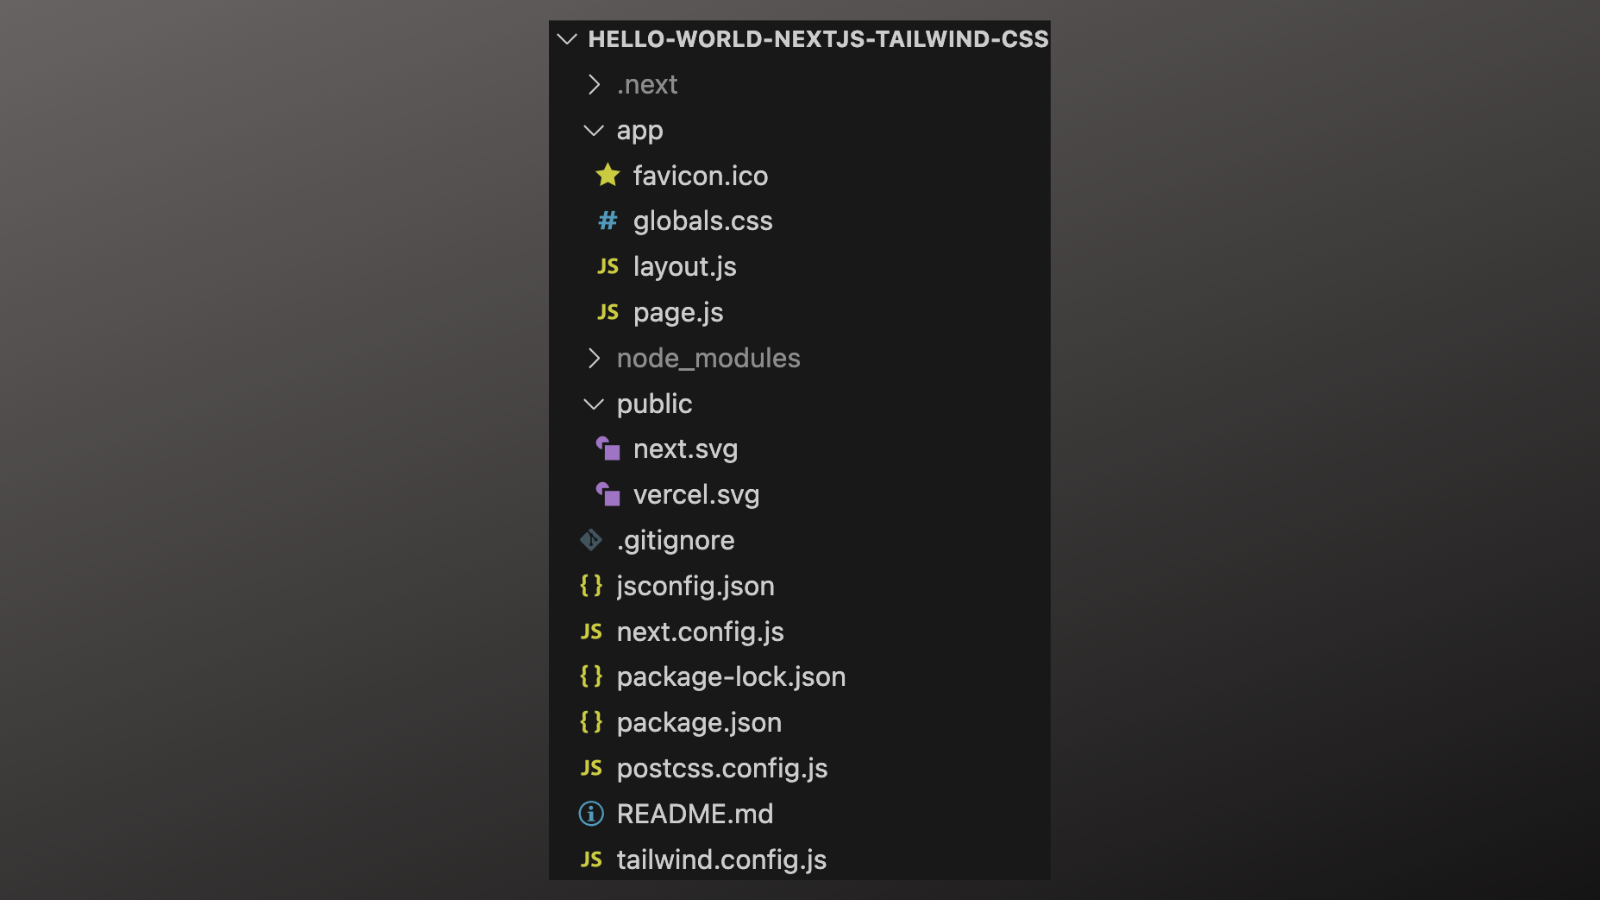
This project structure and the provided files are a strong starting point for building a web app. Rather than starting from scratch, we can edit the provided files and add and delete our own files.
In addition, we benefit from unique Next.js features supported by the App Router. We'll gradually explore some of the unique features Next.js offers as the book progresses.
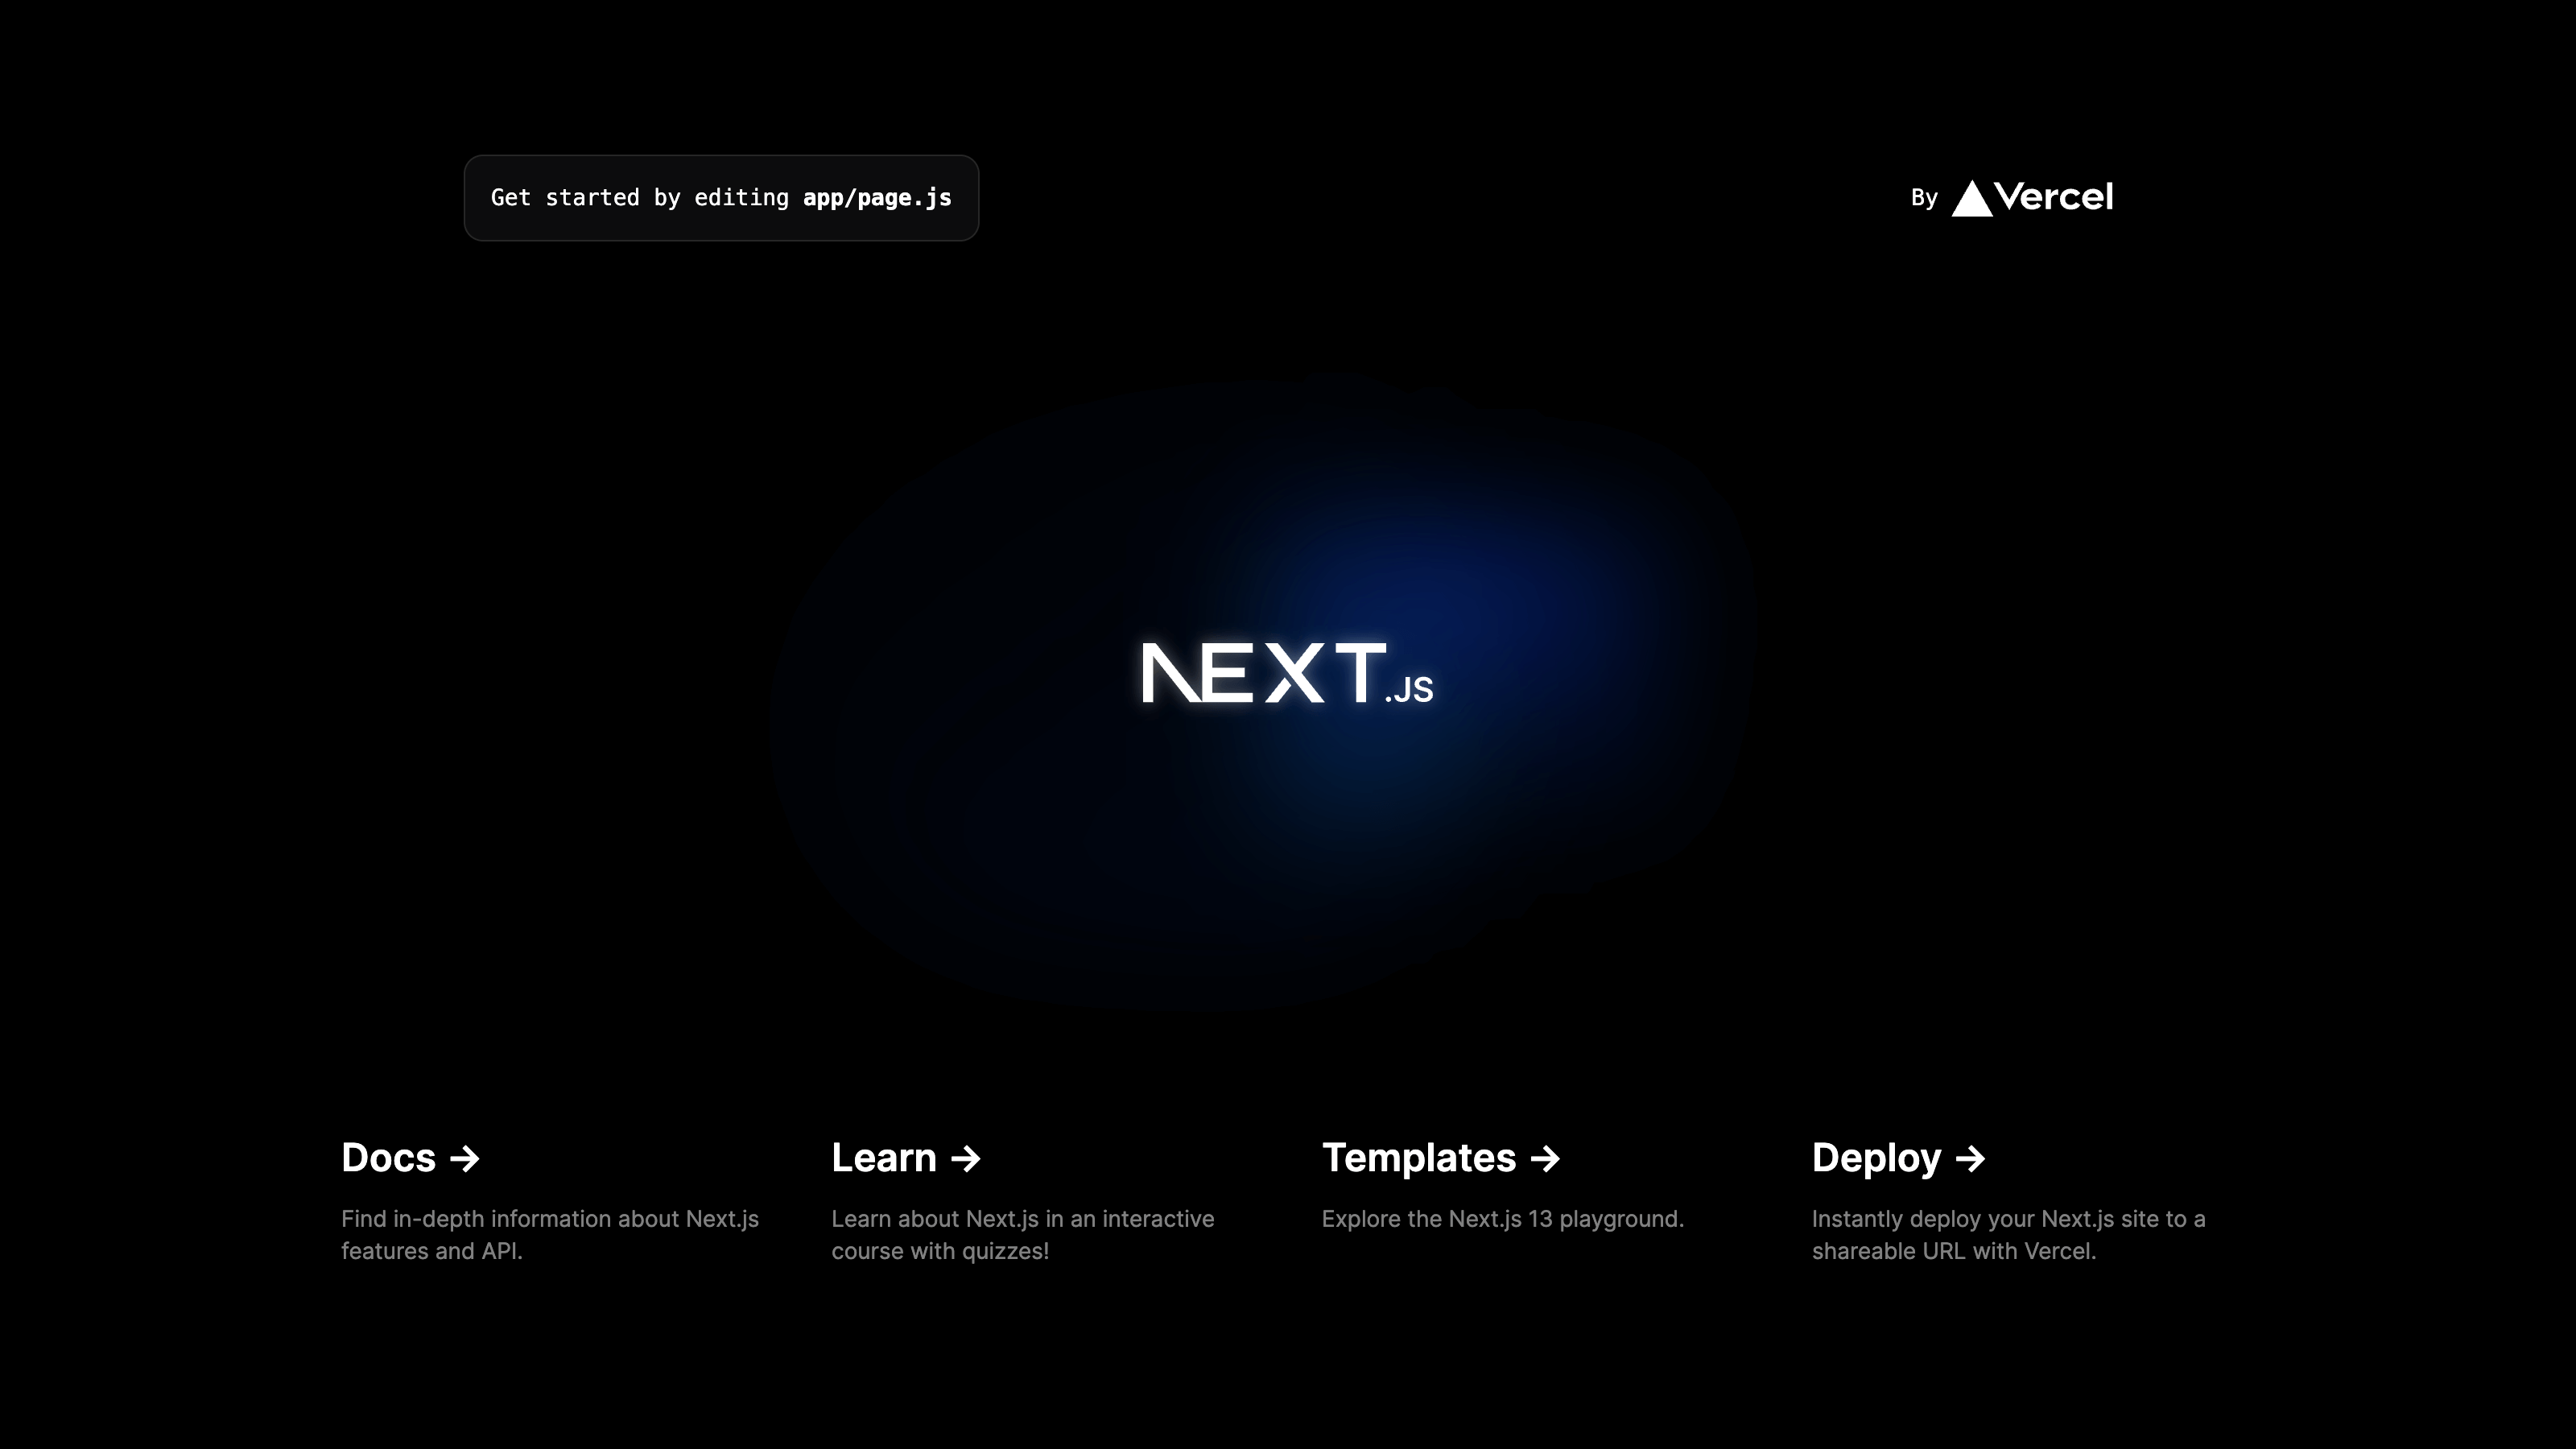
Deploying our web app locally
To start the development server and deploy our web app locally, we simply run the following command:
npm run dev
We can now open our web app locally in a web browser at the address http://localhost:3000.
Simplifying the web app to display "Hello, World!"
Next, we edit our project files to simplify the web app frontend to display the text "Hello, World!". When changes to our project files are saved, Next.js will automatically re-render our web app.
We start by editing the root page, which corresponds to http://localhost:3000.
When using the Next.js App Router, the pages of our web app are located in the app directory. The root page corresponds to app/page.js.
We simplify the contents of page.js to the following:
export default function Home() {
  return (
    <main>
      <h1>Hello, World!</h1>
    </main>
  );
}
Here, it's worth mentioning that when using the Next.js App Router, pages and components are React Server Components by default, rather than Client Components, which has been the convention until the release of the App Router.
If we want to use Client Component functionality like useState and useEffect, then we must declare our page or component as a Client Component by adding the directive "use client" on the first line of the file we would like to declare.
Given this simple web app only displays text, we leave page.js to represent a Server Component.
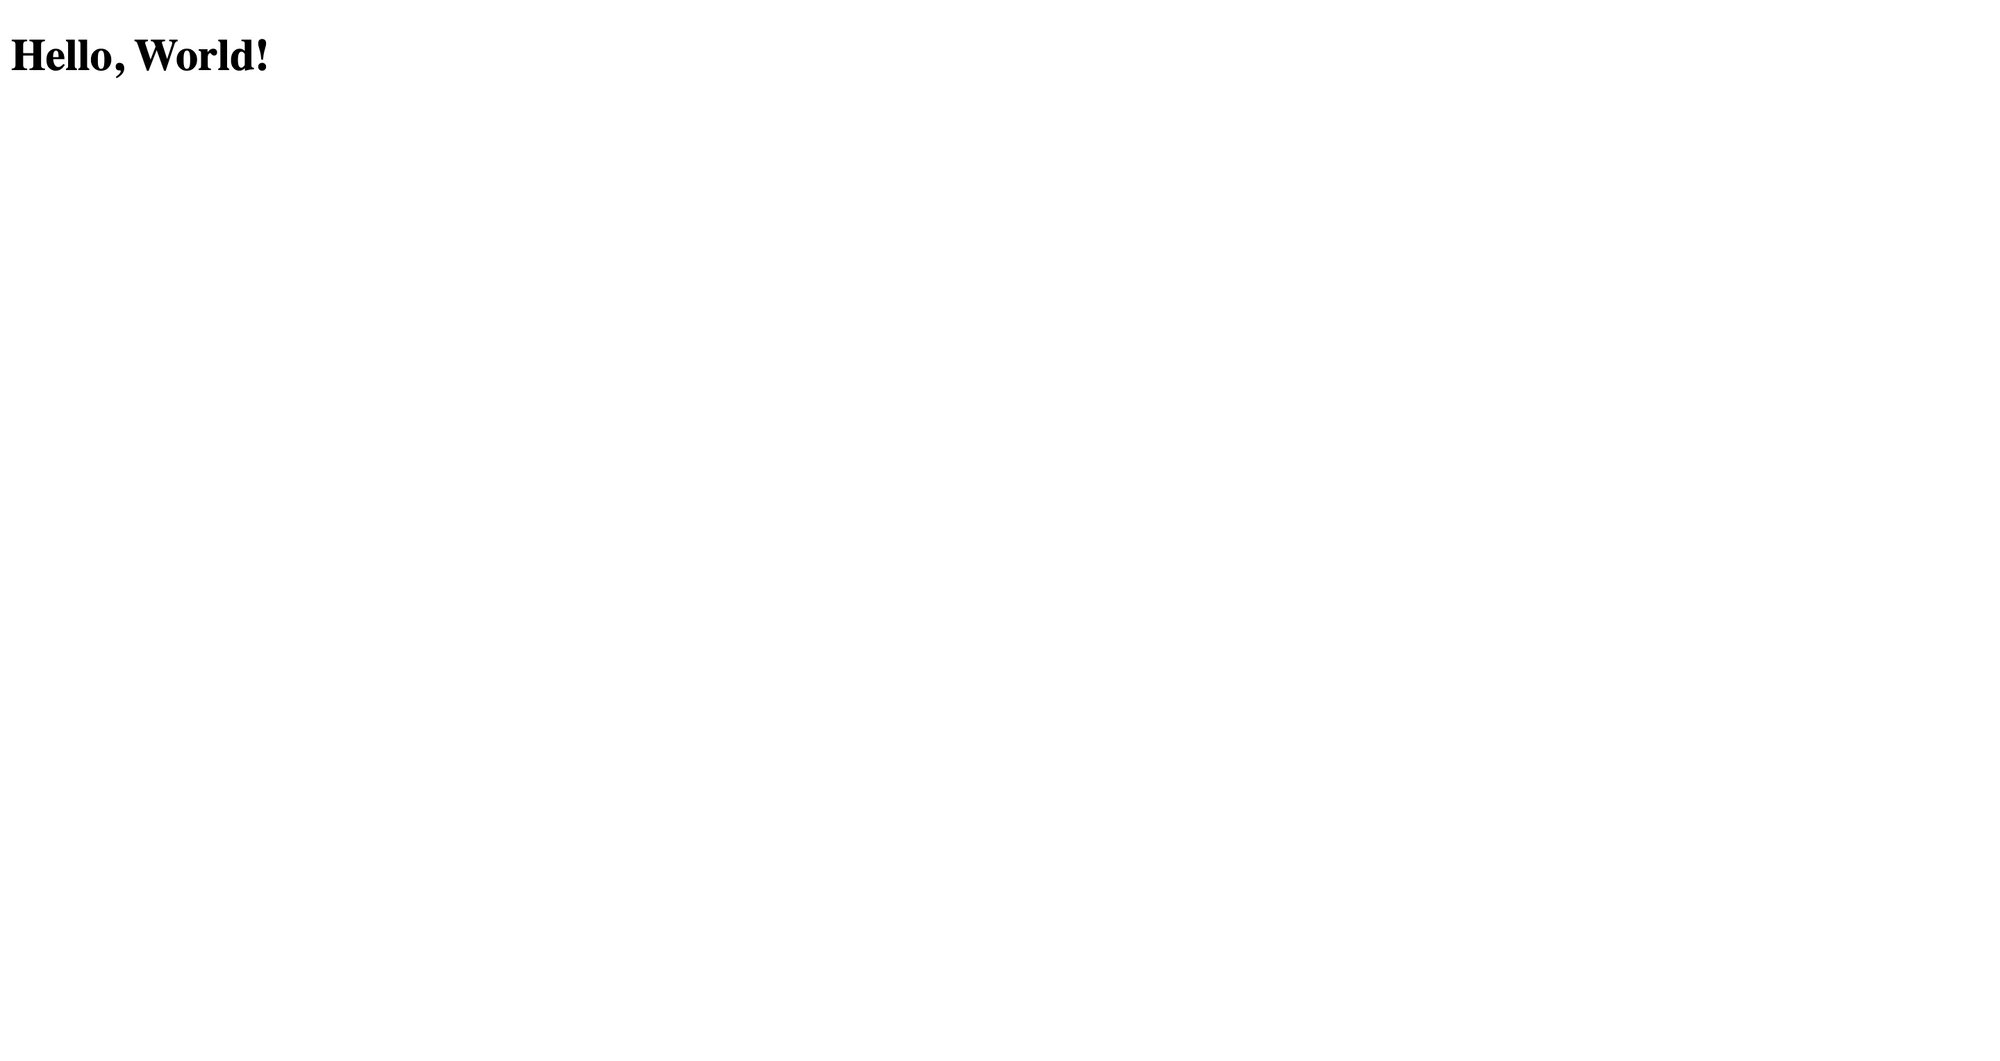
Our web app will re-render, but the styling will be white text against a black background. We simply want to display the text "Hello, World!" in black against a white background.
To achieve this, we open app/globals.css and delete all the contents within this file from the fifth line onwards. The first three lines are needed for Tailwind CSS. As is customary, we let the last line of the file be a new line.
The file globals.css should now only contain the Tailwind CSS directives:
@tailwind base;
@tailwind components;
@tailwind utilities;
And the root page should re-render with the desired outcome:
We also tidy up the public folder which is used to store static assets such as images. We delete the following files from the public folder that were used in rendering the original root page but are now no longer of use:
next.svgvercel.svg
Using Tailwind CSS in our project
To use Tailwind CSS in our project, we add the provided utility classes directly to the className attribute of the HTML elements that we would like to customise.
There's no need for a separate CSS style sheet and there are utility classes for almost every CSS attribute. The Tailwind CSS official docs are the very best source for finding the utility classes you need. You'll get the hang of it in no time!
Updating the styling for page.js
Let's update our styling for page.js. Replace the content of page.js with the following:
export default function Home() {
  return (
    <main className="h-screen flex flex-col justify-center">
      <h1 className="text-center text-4xl font-bold text-blue-600">
        Hello, World!
      </h1>
    </main>
  );
}
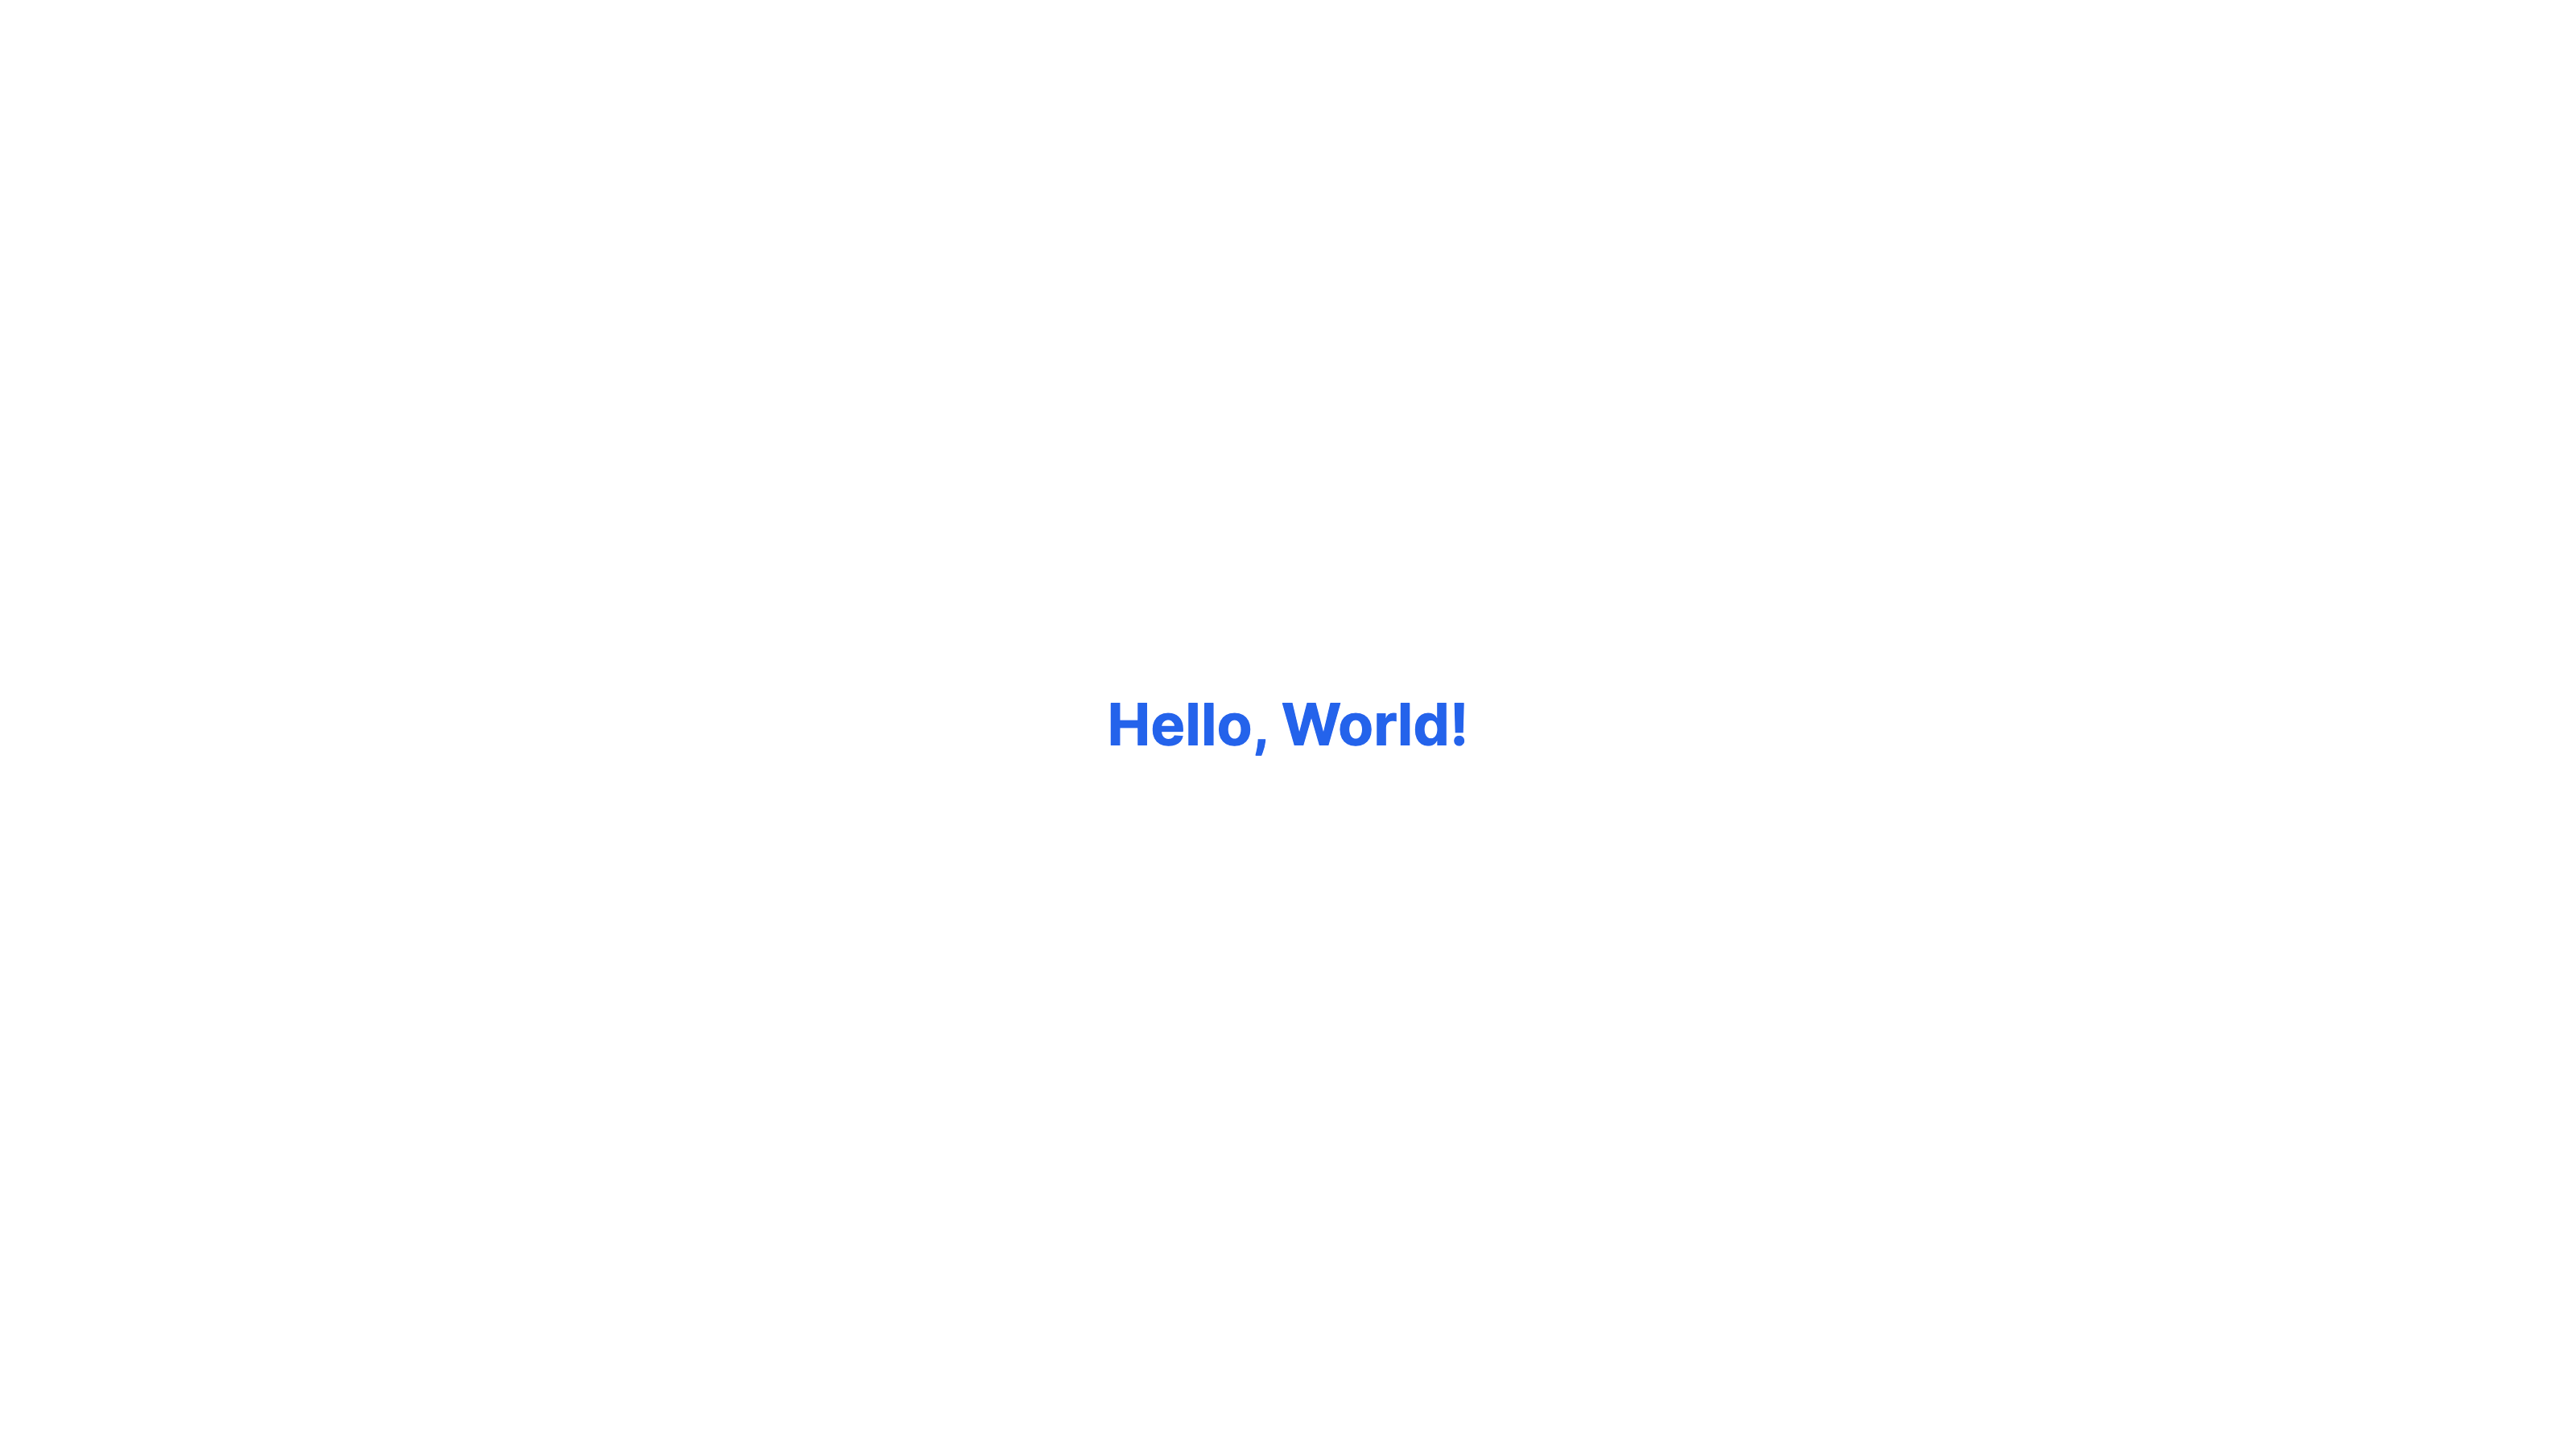
This will achieve the desired final result.
Tailwind CSS breakdown
Here, we have added utility classes to both the main element and the h1 element in our web app.
To the main element, we've added the following utility classes:
h-screen: Sets the height of themainelement to span the height of the user's viewportflex: Sets themainelement to be a flex containerflex-col: Sets the main axis of themainelement flex container to run verticallyjustify-center: Sets flex items to be packed around the centre of the main axis
To style the "Hello, World!" text, we've added the following utility classes to the h1 element:
text-center: Sets the text within theh1element to be centred horizontallytext-4xl: Sets a larger size for the textfont-bold: Sets the font weight to be boldtext-blue-600: Sets the font colour to be an appealing shade of blue
Layouts in Next.js
You will notice a file app/layout.js in our project directory. This file is a shared layout for the different pages in our web app.
For our purposes here, it's useful for updating the metadata and font of our web app.
Let's replace the content of layout.js with the following code:
import "./globals.css";
import { Roboto_Flex } from "next/font/google";

const robotoFlex = Roboto_Flex({ subsets: ["latin"] });

export const metadata = {
  title: "Hello, World!",
  description: '"Hello, World!" app with Next.js and Tailwind CSS',
};

export default function RootLayout({ children }) {
  return (
    <html lang="en">
      <body className={robotoFlex.className}>{children}</body>
    </html>
  );
}
Metadata
When using Next.js with the App Router, to specify the content of the metadata element in our web app, we specify the properties of the metadata object in either layout.js or in our page.js files.
If the metadata object is defined in a page.js file, then the properties of that object will be used to create the metadata element of that page.
Otherwise, if the metadata object hasn't been specified in a page.js file, then the web app will use the metadata object specified in layout.js.
For our web app, we've used the metadata object in layout.js to specify the title and description of our web app.
You can learn more about how metadata is handled in Next.js in their docs: https://nextjs.org/docs/app/building-your-application/optimizing/metadata
Fonts
In layout.js we can also specify the font of our web app using the next/font module provided by Next.js.
Out of the box, Next.js provides supports for Google Fonts.
For our web app, we've specified the Google Font Roboto Flex.
You can read more about how Next.js handles fonts in their docs: https://nextjs.org/docs/app/building-your-application/optimizing/fonts
Backend API endpoints in Next.js
Before we conclude this chapter, let's create a simple backend API endpoint in Next.js. This shows how Next.js enables us to build fullstack web apps with React.js.
Suppose we want to create a backend API endpoint that can be accessed locally at the address http://localhost:3000/api/hello.
In Next.js, all the logic for the route handlers for our API endpoints live in files named route.js nested in the directory app/api.
For example, to create the desired endpoint we put logic for our route handler in the new file app/api/hello/route.js.
This achieves two purposes:
- The file path
app/api/hello/route.jscorresponds to the API endpoint that can be locally accessed athttp://localhost:3000/api/hello. Similarly, the file pathapp/api/bye/route.jswould correspond to the API endpointhttp://localhost:3000/api/bye - The file
route.jscontains the logic for our route handlers that define how HTTP requests to our/api/helloendpoint should be handled
Let's create the file route.js located at app/api/hello/route.js, with the following contents:
export function GET() {
  return new Response(JSON.stringify({ message: "Hello, World!" }), {
    status: 200,
    headers: { "Content-Type": "application/json" },
  });
}
To see what happens when we send a request to this endpoint, open http://localhost:3000/api/hello in your browser. The response returned by the browser contains the following text in JSON format:
{ "message": "Hello, World!" }
In app/api/hello.js, we have a function GET(), which is a route handler for HTTP requests with the method GET sent to the API endpoint http://localhost:3000/api/hello.
Upon receiving a request, the route handler returns a response with the following properties:
- Body: The response has a JSON body with a single property that has the name
messageand the value"Hello, World!" - Status code: The response has the success HTTP status code
200 - Content type: The response indicates that it has a body containing JSON content. Put another way, it has its
"Content-Type"specified as"application/json"
More generally, we could similarly use this approach to define route handlers for other common HTTP methods such as POST, PUT, DELETE and PATCH.
In addition, for our route handlers, we can optionally specify a request object argument such as GET(request) or POST(request).
In the Next.js App Router, the requests and responses are represented by the request and response objects of the Fetch API:
The general pattern here is that the user's browser sends a request and the incoming request triggers a route handler on the server. Information on the request may then be used by the route handler to prepare and process the response, which is finally returned to the browser.
Resources to learn more about Next.js and Tailwind CSS
The best places to learn more about Next.js and Tailwind CSS are the officials docs:
They provide the most authoritative and up-to-date information on how to use these technologies. The docs are useful as both a learning resource and a reference. Other than the official docs, there are of course many learning resources elsewhere, including on YouTube, developer education sites and personal blogs.
Summary and next steps
In this chapter, we covered the following topics:
- Setting up a "Hello, World!" web app with Next.js and Tailwind CSS using
create-next-app - Simplifying the starter web app to display the text "Hello, World!" and styling this text using Tailwind CSS
- Additionally, we also discussed backend API endpoints in Next.js
In the next chapter, we'll use this "Hello, World!" web app as a starting point for building a simple web app with OpenAI's ChatGPT API.